
If you’ve been on Instagram for long, you’d know that one of the biggest picture trends for bloggers and instagrammers, is the “Flat Lay”.
Whether it’s to showcase a cool product or to simply put together a pretty image, there’s a science to creating a really good flat lay.
Lucky for you I’m here to help.
So what the heck is a flat lay, you ask?
A flat lay is a picture taken from a birds eye view of a collection of items laid out on a flat surface.
Usually there will be one item that is the main focus of the shot known as the hero, all the other items in the flat lay are there to complement the hero piece.
Here is an example of a Flat Lay I created:
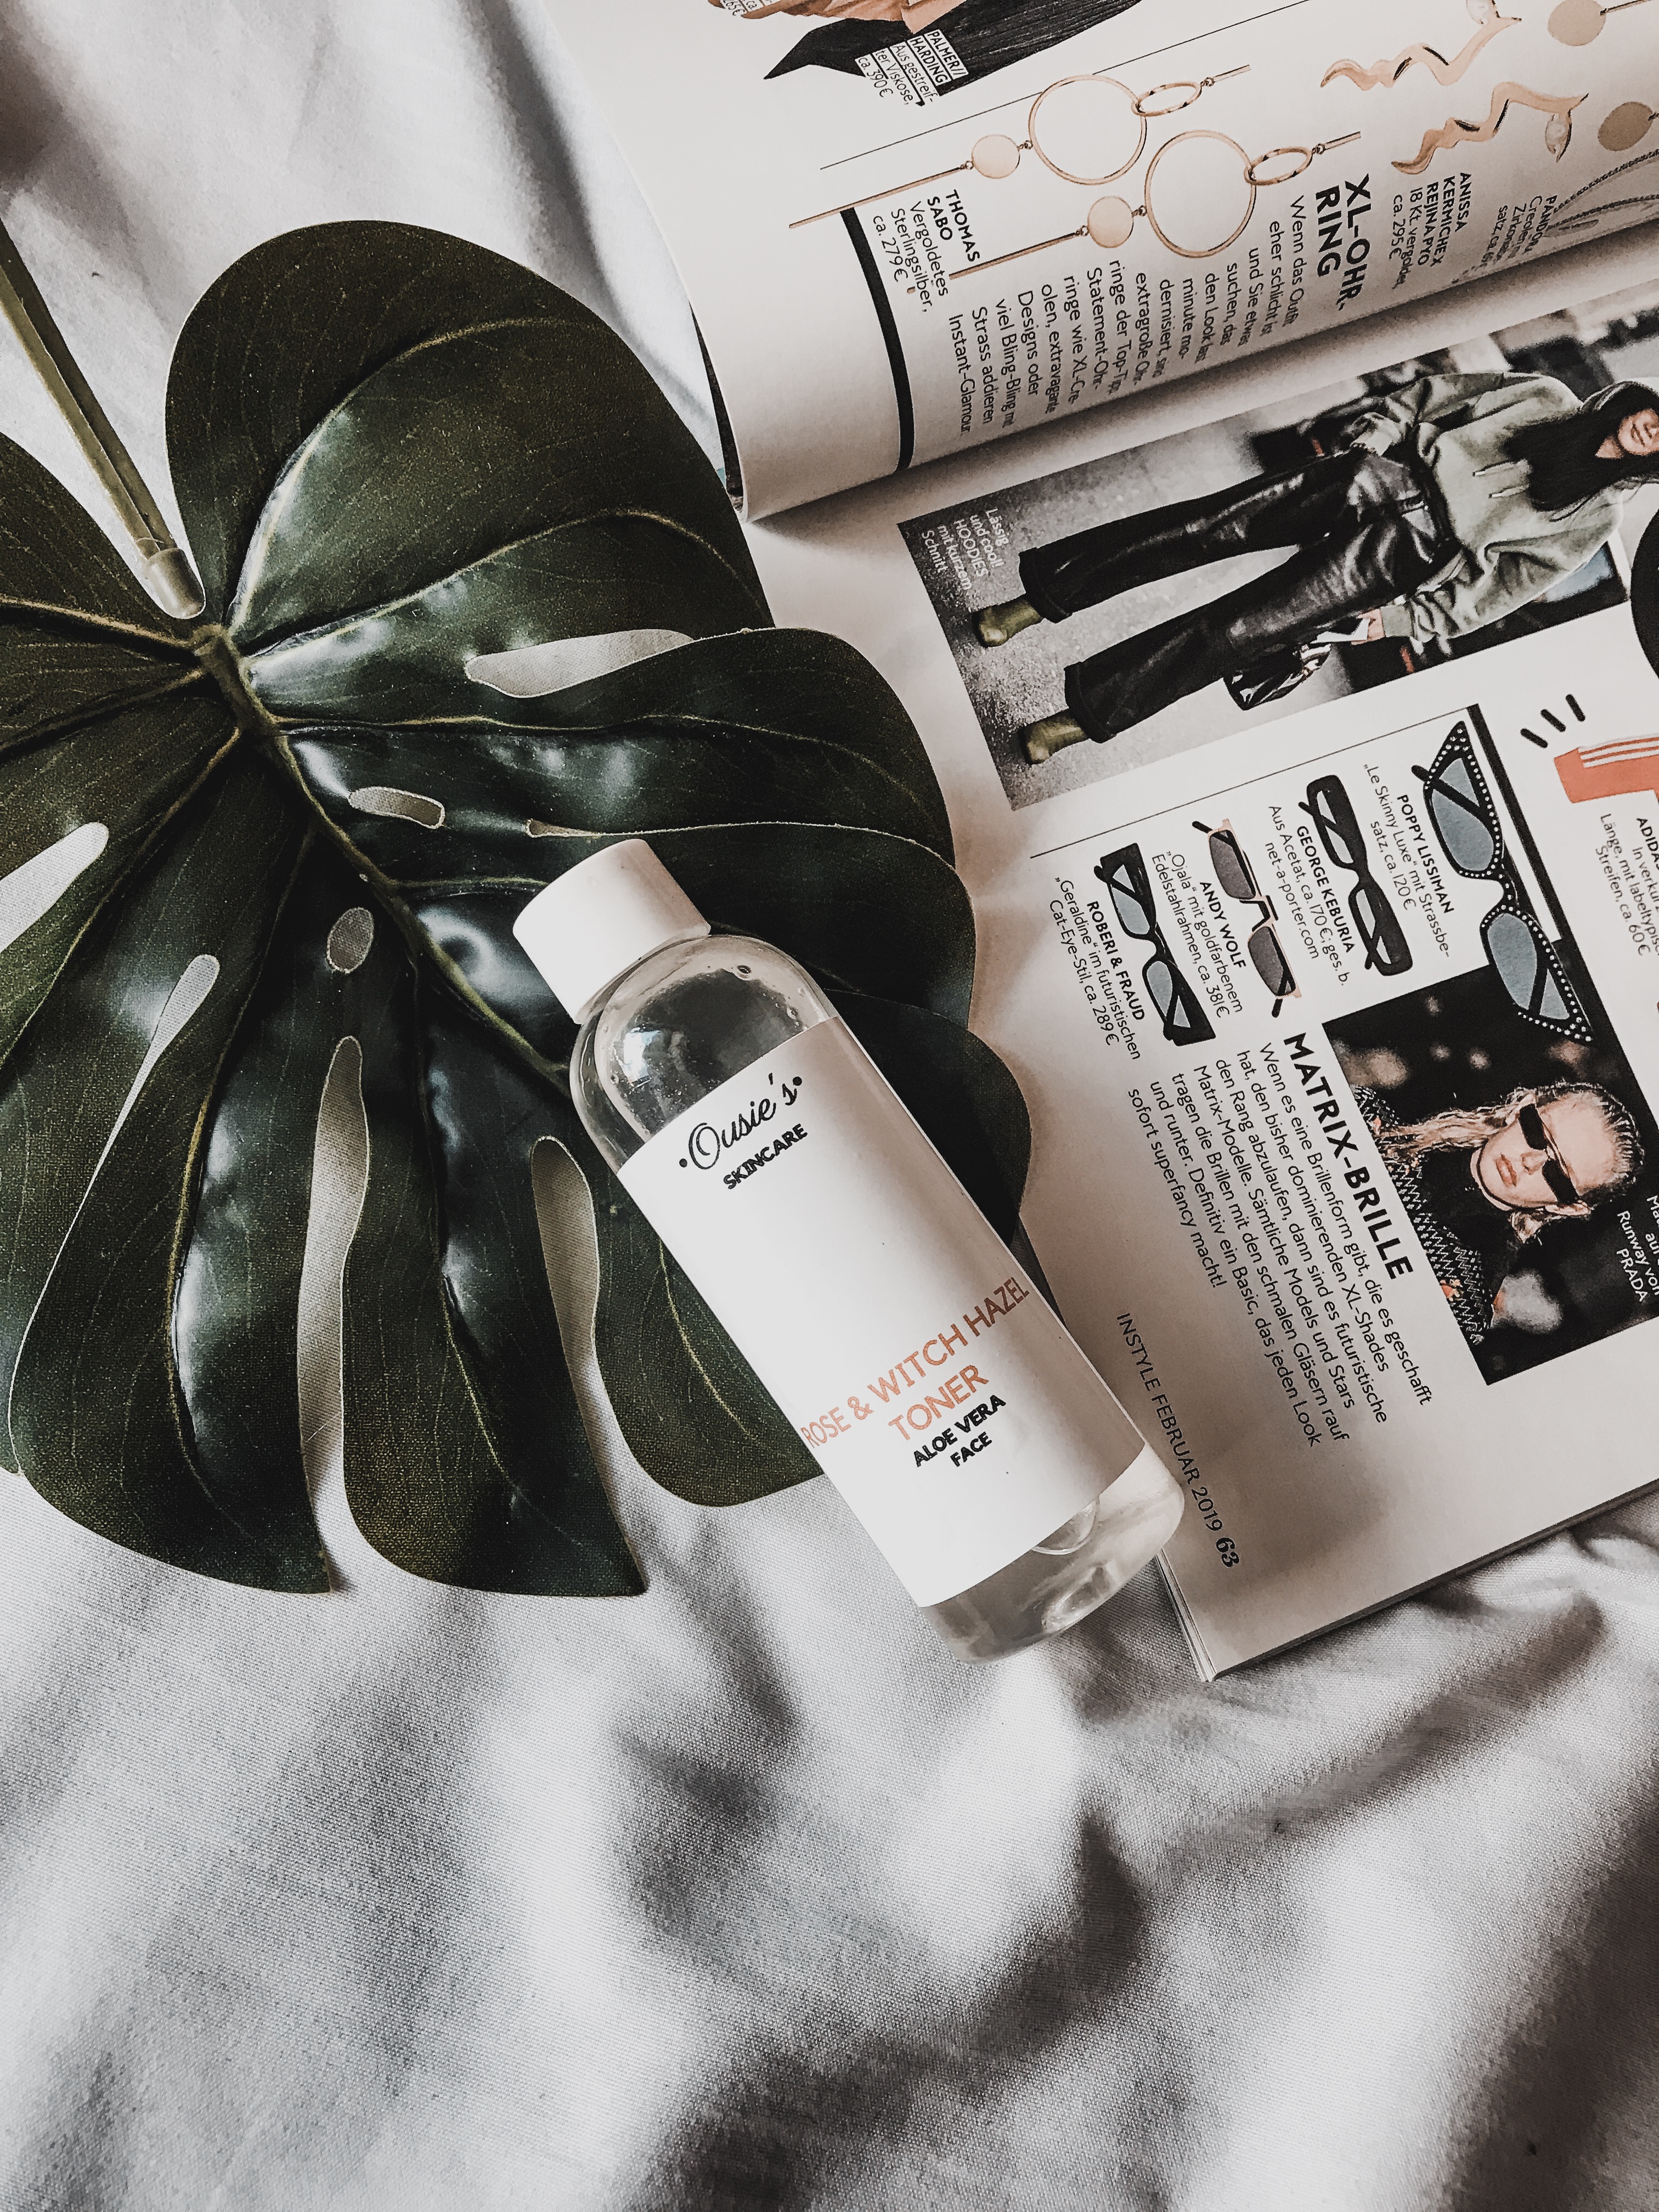
The main focus or subject of the flat lay was Ousie’s toner. The rest were just supporting images. To present the toner in a more interesting way.
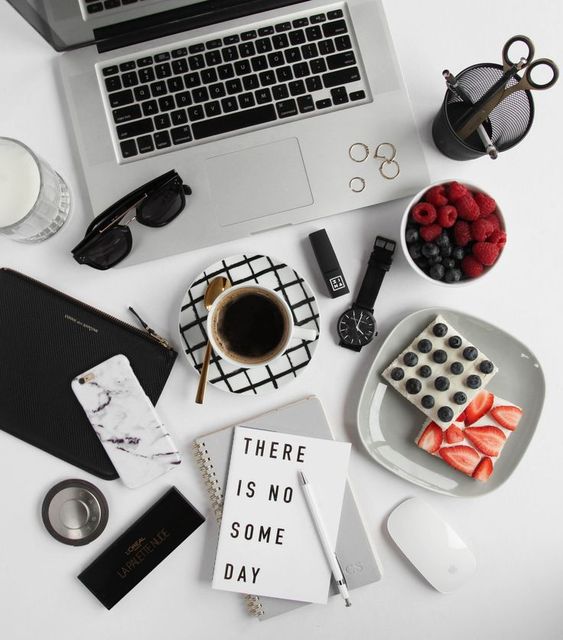
Below is another flat lay example from Pinterest. This one has almost no focal point, as the entire image is a play at a mood, new week, Monday, coffee, breakfast, work mode… that sort of thing.
Basically flat lays serve different purposes. I personally love them because they look great on my feed and they make my products and images a lot more interesting.
Here’s how to achieve a great Flat Lay!
Inspiration
Head over to Pinterest or your favourite Blogger/Instagrammer and look for inspiration. See the type of image you’d like to recreate, whether in edit, layout or subject. Find one and get inspired.
Props
You could put anything in a flat lay and it would make sense. If done right of course. So look around your place; accessories, plants, fabric, coffee mug, cosmetics… whatever fits your aesthetic.
Lay them on the ground/surface you will be shooting on and get creative.
You don’t have to use all of them, but having them all available allows you to pick and swop them as you take your shots. Till you get THAT shot!
Background
When picking a background, I suggest you keep it as simple as possible. So preferably white.
You can use a furry carpet, a white tray, your sheets or tape a white sheet of paper on your table. Just find a plain background and set it up near good lighting. Near a window, in the morning or evening is a great time to take the shot.
Setup
Now it’s time to art direct the shot. When composing your layout, try to make sure the items don’t look cluttered. Add a little space between the items, overlap some of them. Mix large and smaller objects to create balance. I prefer shooting in portrait mode (portrait vs horizontal not the iPhone option) to ensure enough space around the layout which will then give me options for cropping. The last image is usually a square image.
If you are shooting with your phone, you have the option of shooting in square format already.
Take some test shots to see if the items are working and then move them around until you are satisfied.
Shoot
Take the shot from above, stand over the setup, climb a ladder or chair, just make sure you are shooting from directly above. Take as many shots as possible.
Edit
This is where you scheme through all the images, find the few that you like the most and then get to editing.
I wrote about how I edit my images here: That’s BS: How I edit my pictures
It usually starts with a crop, add a filter and then manipulate the levers till everything is to my liking.
Post
And then I post. I usually post the final image on my feed, and then BTS or other images on my story. Just to show my audience how the image came about. Also for them to see that it is my image and not from Pinterest. Lol.
I’ll be shooting this entire process on video as well. It will go up on my IG TV.
I hope this was helpful.
Till next Monday,
Betty Sibeso (@bettysibeso)


